Wednesday, February 22, 2012

[DIY Tutorial] High Waisted Skirt

Spring is almost here and the perfect piece to ease out of winter is.. skirts! Wear with fun tights or dress it up with heels. Follow these simples steps to make your own!


Materials Needed:
0.5 - 2m of stretch fabric (Polyester/Spandex blends are optimal, amount varies depending on length of your skirt)
0.75 - 0.9m of 2" width elastic
Sewing machine (not pictured)
Iron and iron board (not pictured)
Fabric shears
Quilting ruler
L Ruler (optional)
Pins
Chalk
Safety Pin (not pictured)


Instructions:
1. Lay the fabric flat good sides together.

2. For our measurements, we created a square 21 1/2" by 21 1/2", but extend these measurements to fit a longer skirt. (21 1/2" by 27 1/2") Chalk the box, and cut it out. Please note these measurements fits a 25-27" waist.


3. Place the two pieces good sides together, and pin the side seams. Sew at 1/2" seam allowance down both sides, and backstitch.


4. Press seams open if needed.


5. Fold in the waist by 3" so the top should be bad sides facing each other. Pin and sew at 2.5" all the way around, leaving a 3" opening for the elastic. Backstitch at the start and end points.


6. Measure around your waist or where you want the skirt to sit. Subtract 1" from the measurement and cut the elastic to that length.

7. Attach a safety pin to the elastic and use it to feed the elastic through the opening. Make sure it is laying flat all around.

8. Sew the elastic together at 1/2" from the raw edges. Push it into the casing area.


9. Top stitch the elastic in, closing the 3" opening. Remember to backstitch.


10. Fold the hem in at 1", so that bad sides face each other. Topstitch all the way around at 3/4", starting at a side seam.


Tada! A fabulous fashion statement in ten steps!
Hope you all enjoy wearing your new high waisted skirts, share with us the outfit :)


Until next time, happy sewing,
FashionDIY Artista!

Wednesday, January 18, 2012

Sewing Tips Compilation #3

If you've missed our daily sewing tips on Twitter, no worries, we've got them all compiled together with pics. Some of them may be common sense, but just take a refresher and you'll be able to prevent yourself from any accidents and end up with a great project! *Pics will be added along the way*

We're back with our third addition of sewing tips, keep updated as we add new ones!

[Sewing Tip 1] Press your seam open after sewing for a polished look. Less homemade, looks more professional.


[Sewing Tip 2] When sewing a square project or a corner, trim off a triangle on your seam allowance 1/8" away from sewn corner. This prevents bulkage when flipping project inside out. *PS- This example is from our reference board in studio, which also includes examples of stitches, hemming, pockets and other sewing techniques!


[Sewing Tip 3] When attaching fusible interfacing always use a fabric guard in between iron and interfacing to prevent glue from sticking to iron.


[Sewing Tip 4] Change your sewing machine needle after 2 major projects.

[Sewing Tip 5] This might be common sense but only use fabric scissors for fabric, never paper!


[Sewing Tip 6] No empty bobbins? Wrap a new thread color over top of a half full bobbin.


[Sewing Tip 7] Test your thread tension using a scrap of your project fabric before sewing your project.

[Sewing Tip 8] Purchase a pair on thread clippers like these. Easier to trim threads then big scissors. Very handy!


[Sewing Tip 9] To find your natural waistline measurement, bend to the side and take your measurement where it hinges.

[Sewing Tip 10] When hand sewing silk use a thinner guage needle so needle can glide through fabric easily and leaves smaller, less noticeable holes.

[Sewing Tip 11] Dont rush sewing during the last steps of your project. That's when the most mistakes happen.

[Sewing Tip 12] Trim off the hanging threads after sewing a seam. This ensures no threads will be pulled into machine later when sewing.

[Sewing Tip 13] Invest in a magnetic pins holder. Easier to grab and store pins! Buy from Dressew, it's cheap.


[Sewing Tip 14] If you sew a lot like us, ensure you clean out any fuzz & threads from around your bobbin area. Better quality stitches.

[Sewing Tip 15] Backstitching is used to re-enforce a seam. Only do 3-4 stitches, anymore will just add unneccessary bulk.

[Sewing Tip 16] Keep a cover on you sewing machines while not in use. Decreases the amount of fuzz/dust that can accumulate.


[Sewing Tip 17] When pressing a garment press all seam allowances towards the back or down.

[Sewing Tip 18] No serger? Use a zig zag stitch close to the seam allowance raw edge instead. Or come and use ours :)


[Sewing Tip 19] When threading your machine ensure presser foot is up. This ensures thread sits properly in tension areas.


[Sewing Tip 20] Pre-wash fabric prior to sewing. If you forget, then wash in cold water and hang to dry to maintain original shape.

[Sewing Tip 21] Avoid lots of pins when sewing with silk, decreases the amount of holes. Or just pin in the seam allowance area.

[Sewing Tip 22] Prior to sewing a hem, press it in, so that the hem lays flat while sewing. Make sewing easy!

[Sewing Tip 23] Need to decrease the height /width of a garment? Do it from the middle and re-curve outer seams. Never from the outsides.

[Sewing Tip 24] Keep food and drinks away from machines and irons. Who wants sandwich crumbs melted into their project??

[Sewing Tip 25] Always have black, white, and another colour you use often in thread.


[Sewing Tip 26] When using a seam ripper remember the blade is in the valley of the ripper. Don’t pick away at your thread using the tip, use the valley.


[Sewing Tip 27] Have your fabric sheers sharpened at least once a year or earlier if you sew often. Keeps you and your fabric sane!

[Sewing Tip 28] Lost one button on your blazer and can’t find a replacement? Replace all the buttons for a fresh look. Or keep a bunch of extra buttons around like us! 


[Sewing Tip 29] Always place the big pattern pieces first on the fabric, then the small ones will fit around.

[Sewing Tip 30] Keep a pin holder beside your sewing machine or you will have pins everywhere.


[Sewing Tip 31] Prior to cutting out pattern, ensure fabric is good sides facing each other.   

[Sewing Tip 32] Invest in a quilting ruler. Handy for pattern drafting and sewing. These come in different sizes so pick one that youll use most often, or just get both for convenience.


[Sewing Tip 33] Your machine is dead & you want to get rid of it. Take it to a machine store and they can recycle for you.  

[Sewing Tip 34] Pins dull over time, replace them if they are no longer gliding through fabric smoothly. 

[Sewing Tip 35] There are different heights to bobbins, always use the correct height bobbin for your machine. Make sure you don't mix up domestic and industrial bobbins!


[Sewing Tip 36] Chalk out your sew line prior to sewing if it’s a detailed seam. Extra time but your seam will be flawless.

[Sewing Tip 37] When using chalk apply lightly on fabric or it might take several washes to remove.


**NEW**

[Sewing TIp 38] Use heavy weight drafting paper instead of regular paper to extend the life of patterns.


[Sewing Tip 39] Keep all your patterns organized with pattern hooks & a hole puncher.


[Sewing Tip 40] Store fabric in clear containers. You can see your fabric easily and is dust-free.


[Sewing Tip 41] Sew all seams at 2.5 stitch length. This size creates a secure seam.


[Sewing Tip 42] Sewing an appliqué onto a garmnet? Attach fusible interfacing to back of appliqué for easy sew.

[Sewing Tip 43] If you don't have an iron & in desperate need use a flat iron! Handy for dress shirts (and travel!)

[Sewing Tip 44] Steam a zipper seam instead of pressing directly so you don't melt it! Use your fingers to press seam flat. 

[Sewing Tip 45] Machine light too dark? Install a 2nd light, like the ones at in studio, so you can see exactly what you’re sewing.


[Sewing Tip 46] Altering the shape? Try the garment on inside out so you can mark where to sew and hide chalk lines too.

[Sewing Tip 47] Your grain line is parallel to your selvage edge. Selvage edge is the uncut edge.

[Sewing Tip 48] Sewing a ton like us? Invest in a Cone Thread Holder like this one. PS- We sell them too!


[Sewing Tip 49] Do not pre-wash wool fabric, steam it instead!

[Sewing Tip 50] If you are serging an item with rounded corners, start serging on a straight edge not a corner.

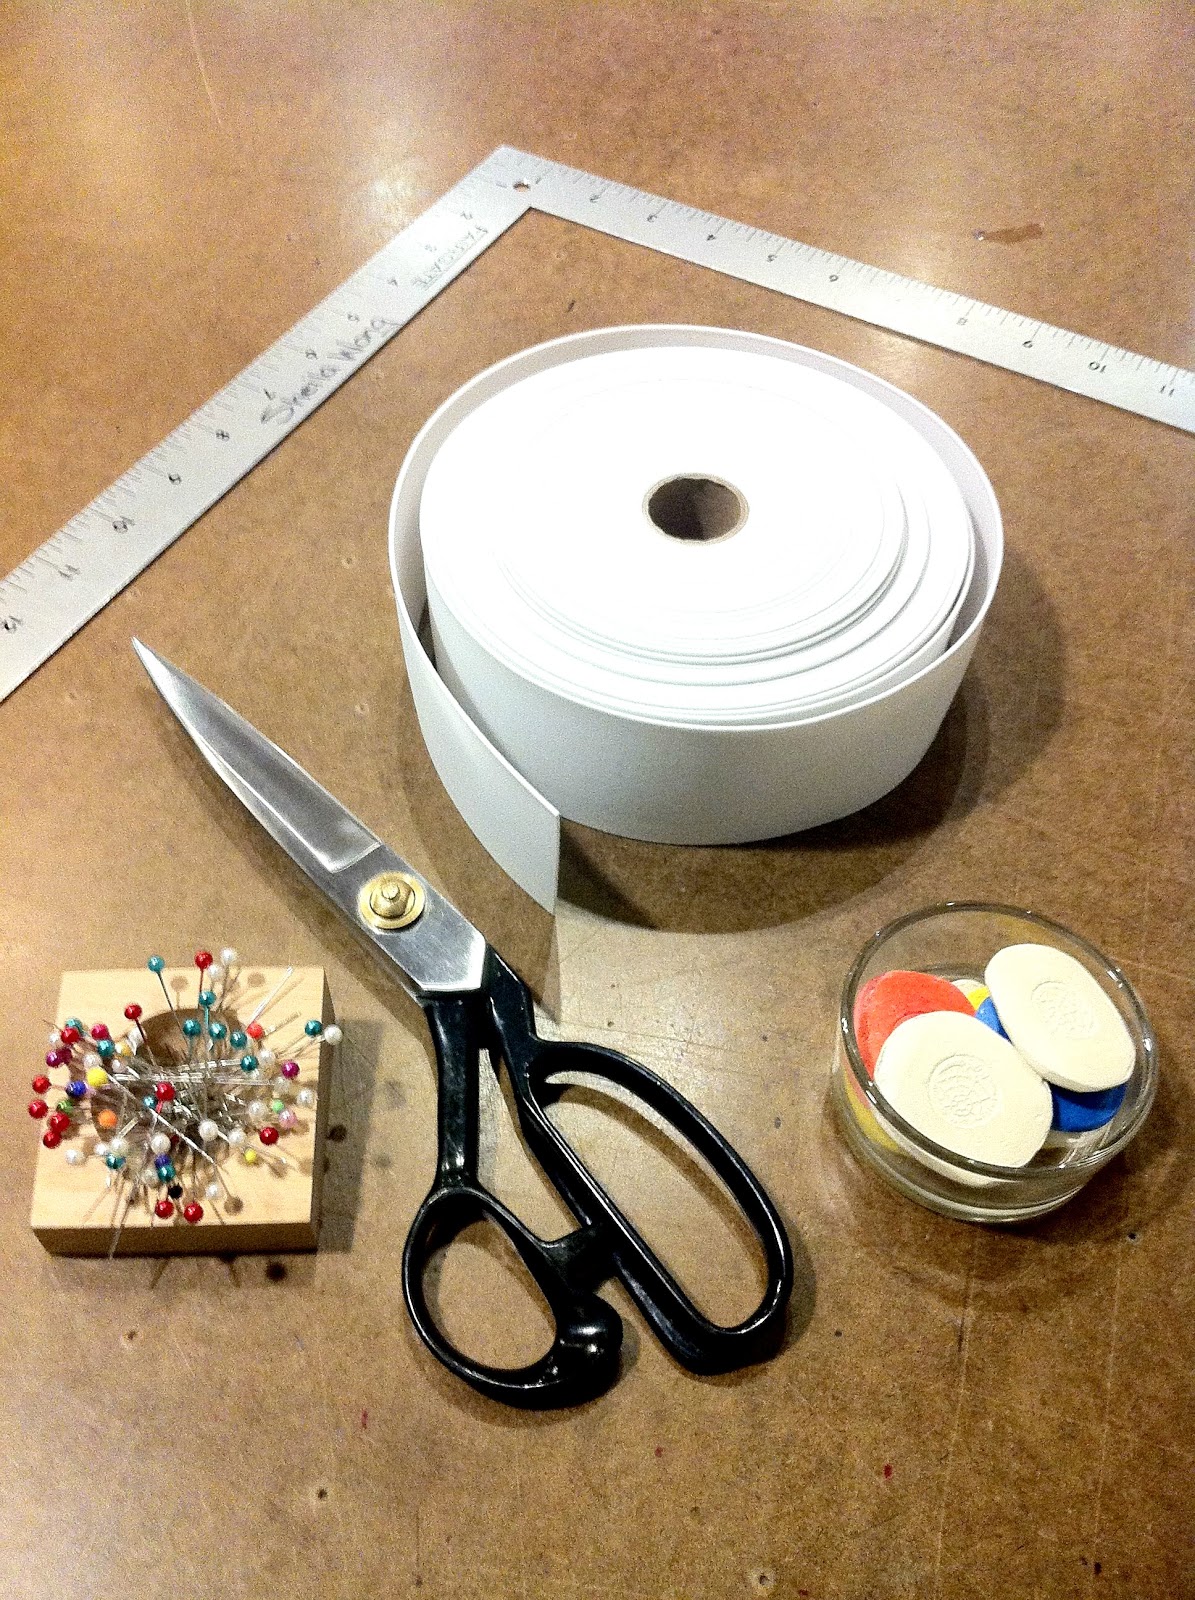
[Sewing Tip 51] Chalk comes in different forms & colours- tailors chalk, roller wheel, etc.. Find one that works best for your fabric.


[Sewing Tip 52] Making patterns? Use a tracing wheel on top of your pattern paper so you can easily create the pattern.

[Sewing Tip 54] Something feels funky when sewing with your machine? Stop right away, check the bobbin case, and rethread if needed.

[Sewing Tip 55] When using the hand wheel on sewing machine, remember only turns towards you! Never away from you.

[Sewing Tip 56] When using diff fabrics, always test it on a scrap first to see if you need to adjust tension or stitch length.

[Sewing Tip 57] Cutting out patterns? Get weights like these to hold the pattern down while you work.


[Sewing Tip 58] When hand sewing keep an eye on how much thread you have left to ensure you can still tie a knot.

[Sewing Tip 59] You don`t need machines with lots of fancy stitches. Straight, zigzag, and button hole are good enough.


[Sewing Tip 60] Don't throw away your scrap fabric. You can always use it as test fabric. Ziplock it away as storage.


[Sewing Tip 61] Don't have a serger or machine with zigzag stitch? Use pinking shears to finish a raw edge


[Sewing Tip 62] Create your own binding with a strip of fabric and press the folds as shown in photo


Follow us on Twitter for more daily sewing tips!

Wednesday, January 11, 2012

[DIY Tutorial] Infinity Scarf!

We are back with another tutorial! One of our most popular classes for you to make on your own at home.. the infinity scarf! VERY simple and easy to make and wear!


Materials needed:
0.8 metres of jersey stretch fabric
Matching thread
Quilting ruler
Chalk
Fabric Shears
Iron & Iron board
Sewing machine


Instructions:
1) Lie the fabric flat on the table, folded in half with good sides together and salvaged edge closest to you.


2) Trim the two raw ends so that they are parallel. (Not the salvaged edge)

3) On one of the salvaged corners of the fabric, use chalk to mark four inches up. Use the ruler, and chalk a line descending to the other salvaged corner. This is to create a nice cascading final look for the scarf. (Click to enlarge)


4) Sew the fabric good sides together on the chalked line, then trim excess neatly.


5) Press seams open.


6) Stretch the tube to give it shape, flip it inside out and you're done!


How easy was that! Congrats on a fabulous new scarf. Psst- share what you wear with yours!

Cheers,
FashionDIY Artista

Tuesday, January 3, 2012

SWFDS 2011: A Year in Review

Hello lovelies! It's a new year, its 2012! To celebrate, we will be recapping our best moments and greatest highlights from 2011. Happy New Year to you all and best wishes.


PS- This post is very link friendly. Clicks will take you directly to the post to read more about it (and check out the pics).


Let's start with January 2011 and run through the year chronologically
We started off the year with the last few days of our UNDER 100 Exhibit, pieces done by local artists all within the 100 price range. Our walls were beautifully decorated even with people dropping in and out to pick out art! Sheila was also featured in Urban Snapshot, a local blog putting the spotlight on Vancouver. Have you read it yet? 


Sheila sewing with Joel of Urban Snapshot!


February kicked off with a round of new workshops- KEEP ME TOASTY, featuring an infinity scarf, hobo mitts and fuzzy earmuffs! This was the first of our monthly themed workshops and it kicked off many more fun projects through the year.


The infinity scarf- versatile and trendy! (Gorgeous peach colour no?)


In March, another round of workshops with VINTAGE DIY! We made bows, clutches and statement necklaces all from gorgeous vintage pieces. Sheila was featured on Blanche Macdonald with a wicked article about her career after graduation! Read it!


La la love this fabric! We fancied up the clutch with a leather drawstring!


We made high waisted skirts and belted capes in April's SPRING FLING workshops. (The high waisted skirts were SO popular, we made them again in May!) We also welcomed our first in house designers, Davie & Chiyo Custom Clutches!


Stunning belted cape; this one was specially made for a bride!


May was bridal month in studio. We made gorgeous wristlet clutches and beaded headpieces in our SOMETHING MADE SOMETHING BLUE workshops! We attended EP!C 2010, and offered classes to make a clutch, an eco stash bag, and rosebud hair clips! We also featured a few local designers in our booth- Davie & Chiyo, Andrew Briggs, Nate Organics, and Picasso Designs. Did you miss it? 


Pearl and ribbon headpiece.. So beautiful! (Thanks Alisa for the pic!)


Is this rosebud not insanely adorable or what?!


We were feeling fun kiddy prints and June featured URBAN BABY workshops, making ah-dorable stuffed owls and baby tutus. Cute eh? We also celebrated the one year anniversary of our grand opening!


The stuffed owl wearing the tutu :D


July was SLUMBER PARTY month, and we made cozy throw pillows! Our house designers, Davie & Chiyo held a trunk show in studio! We also kicked off the first of our DIY Tutorials on our blog.. Make yourself a Balmain inspired tee! As an official partner of One of a Kind 2011, we joined them on a yacht, teaching wearable flowers for their media preview!!


Making flowers on a yacht- there's a first for everything!
We packed several DIY tutorials into August with the baby receiving blanket, frayed jean short shorts, recycled t-shirt stash bag, and beginner sewing kit!


The basics of everything you need to start sewing!


In September, we offered zipper workshops! We started our Sewing Tips Series on Twitter. (We've got them compiled nicely with photos here!) More DIY tutorials on a personalized comfy sweater, and protective iPad/ebook case! We also introduced our DIY rack in studio; picking from a huge variety including past workshops we brought back!


Don't you just adore this springy flower print??


DIY tutorials in October included fun headbands and a simple makeup pouch! Sheila debuted her line of custom designs, Lylah V Flowers!


November was an exciting month for media highlights! We were featured in TV Week Magazine and Vitamin Daily.com! We held an exciting giveaway to celebrate our partnership with One of a Kind. Davie & Chiyo held another trunk show in studio, this time debuting another label, Lylah V Flowers!
Sheila in TV Week Magazine!


Lylah V at the Trunk Show!


Our second show at One of a Kind in December, this round we taught sewing classes in the Make Something Awesome Lounge! (Rad photos!Read the recap if you missed out! We held a NYE giveaway with Davie & Chiyo, a lucky gal scored a gorgeous clutch! Sheila shared her fav dresses for new years!

Making flowers at OOAK!
Quick Facts:
We taught over 165 students in 12 months with approximately 60% being beginner sewers. 
On top of the 165, we taught 60 guests at the 2011 One of a Kind Show in 4 days. 
Oh and did we mention the part where we taught on a yacht?

There you have it ladies, and gents! SWFDS in 2011! 
Keep posted on our Facebook and Twitter as we zip through another year!
PS - We're having lots more classes coming this year, watch out!!
Happy 2012 and all the best :)

Cheers!
SWFDS Sewing Team